This post contains affiliate links. Please see our disclosure policy.

Easy and cheesy, all four pizzas are ready in just 35 minutes. This air fryer pizza is your new go-to for personal pies with crispy edges and melty perfection. Minimal effort, maximum payoff. Bring it to the table on your next family pizza night!
The air fryer knows its way around crisp. (If you’ve tried my air fryer Buffalo wings, you already know this.) Which is why air fryer pizza delivers big: a golden, crackly crust, perfectly crisped pepperoni, and cheese that melts into bubbly, gooey bliss—basically everything you want in a slice. Bonus: this recipe calls for fresh dough. Use your go-to recipe, my quick one-hour homemade pizza dough recipe, or grab a store-bought ball and call it a day. However you roll it out, you’re in for something good on your next pizza night, and if you have kids, they’ll love it.
Need some inspiration from my other easy pizza recipes? A Caprese pizza never disappoints. If you’re the adventurous type, you’ll love my Hawaiian pizza with crispy prosciutto or this flavor-packed dill pickle pizza. Prefer something simpler? Try this herb & garlic cheese pizza.
Table of Contents
Ingredients & Modifications
Ingredients
A full ingredient list with exact measurements can be found in the recipe card below.
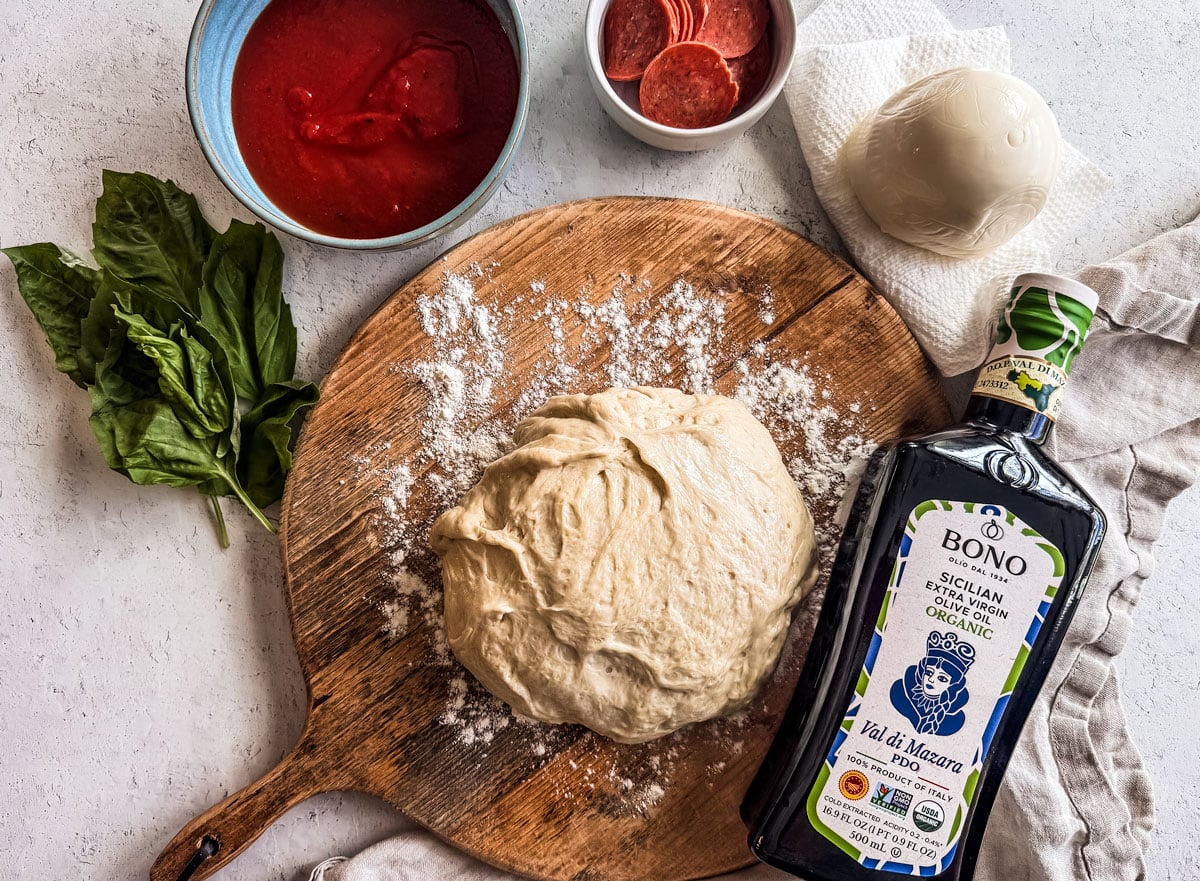
- Pizza Base—This recipe, as written, uses fresh pizza dough. You can use your trusted recipe, a ball of pizza dough from your local bakery, or my go-to one-hour pizza dough recipe. Another option to make things even simpler is to skip the from-scratch approach and use premade mini pizza crusts, pita, or naan for an easy naan pizza!
- Pizza Toppings—What you put on your pizza to make it the best pizza is personal. Any style of pizza can be cooked in the air fryer. Here are some of our favorite things to use:
- Pepperoni
- Mushrooms
- Olives (black and/or green)
- Spinach
- Pesto
- Grated Parmesan
- Pineapple (it’s fine on pizza, let it be)
- Red pepper flakes, for a bit of heat
- Bell peppers
- Chopped marinated artichokes
- Onions (White, yellow, or red onion works)
- Other meats, like bacon, ham, sausage, or chicken (always make sure these are already cooked)
Modification
Not into thin-crust pizza? You can divide the dough into just 2 or 3 pizzas for a thicker-crust experience, but cooking time will look different. In that case, you’ll want to precook the crust for 4-5 minutes, flipping it halfway through, then finish it off with toppings for 6-12 minutes, checking in at the 6-minute mark.
I have not tried this recipe with whole wheat or gluten-free crusts. If you try it, let me know how it goes by leaving a comment.
Recipe Tips
The air fryer fan produces a powerful gust when it’s initially turned on, so lighter ingredients can be blown around. I have a few tips to help with this:
- Tuck your toppings under the cheese, then give it all a gentle press before closing the air fryer. Keeps things from flying around like a pizza tornado.
- If you’ve got a cooling rack or a dehydrator rack, set it on top — it’s weirdly effective at holding everything in place.
- Really worried about rogue pepperoni? Toothpicks. Not elegant, but they work.
Air Fry Mode vs Bake Mode
You can use either the Air Fry or Bake setting to make pizza in an air fryer—both technically work. I’ve tested them all (because of course I have), and I’ll be honest: Air Fry wins for me every time. That said, here’s the breakdown so you can make the call based on your own crust preferences and general pizza mood.
Air Fry Mode
The Good News:
Hotter temps + aggressive fan = crispier golden-brown crust, bubbling cheese, and that golden, fried-adjacent finish we’re all chasing. It’s pizza, but with edge.
The Less-Good News:
That fan? It does not care about your carefully placed toppings. Shredded cheese might migrate. Oregano might vanish. And if you’re not watching the clock, you could end up with dried-out sauce and sad pepperoni.
When to Use It:
When you want that crispy-bottom, bronzed-top, slightly-too-hot-to-bite-into pizza moment. Great if you like things a little more well done (in a good way).
Pro Moves:
Dial the temp down just a bit to keep things from going rogue (hotter temp = faster fan). Also, slide the pizza onto a preheated pizza stone—it helps distribute the heat so everything gets the treatment it deserves.
Bake Mode
The Upside:
Bake mode is the laid-back, even-tempered friend who doesn’t overreact. It gives you that steady, gentle heat that keeps things moist, cozy, and intact.
The Downside:
You’re probably not getting a super crisp crust here. It’s more “soft and chewy” than “shatteringly crisp.” But hey, that’s a texture choice, not a flaw.
When to Use It:
Great for when you want a more evenly cooked, softer-crust situation—or if your pizza is delicate. Note that toppings may still fly around, so take precautions. I’ve tested it.
Hot Tips:
Lower the temp by about 25° F and shave off 20% of the cook time if you’re coming from an air fry mindset. It’s a gentler method, so treat it accordingly.
Step-by-Step: How to Make Air Fryer Pizza

Step 1: Preheat the Air Fryer
You want to get that air fryer HOT. Just like you would your oven. So preheat it to 400º F. If you’re using an air fryer-friendly pizza stone, pop that in there and preheat it as well.
Step 2: Prepare Your Dough (If you’re using a pre-made pizza crust, move on to Step 4.)
Lightly sprinkle all-purpose flour and/or cornmeal on a clean surface (cutting board, kitchen counter, etc.). If you’re using fresh dough, divide it into 4 sections and roll out each of them into 6-inch rounds (approx.), or just big enough to fit into your air fryer basket. (Sizes vary by air fryer.)
With a fork or toothpick, poke holes into the center of the pizza dough, away from the crust. This prevents the center from ballooning upward when cooking. If it balloons anyway, just press it down with a spatula. It’ll be fine.
Brush all of the crust, front and back, with a tiny bit of olive oil. If you want a flavored crust, sprinkle some garlic salt and Italian herbs over the crust’s edges. (Optional, but I recommend it.)
Step 3: Precook the Pizza Crust
Using a sturdy spatula, transfer the dough to the air fryer basket and pre-cook it for 2-4 minutes at 375º F on “Air Fry” mode, flipping it halfway through. Doing this helps you get a nice golden crust and bottom without overcooking the cheese and other toppings.
Step 4: Dress Up Your Pizzas
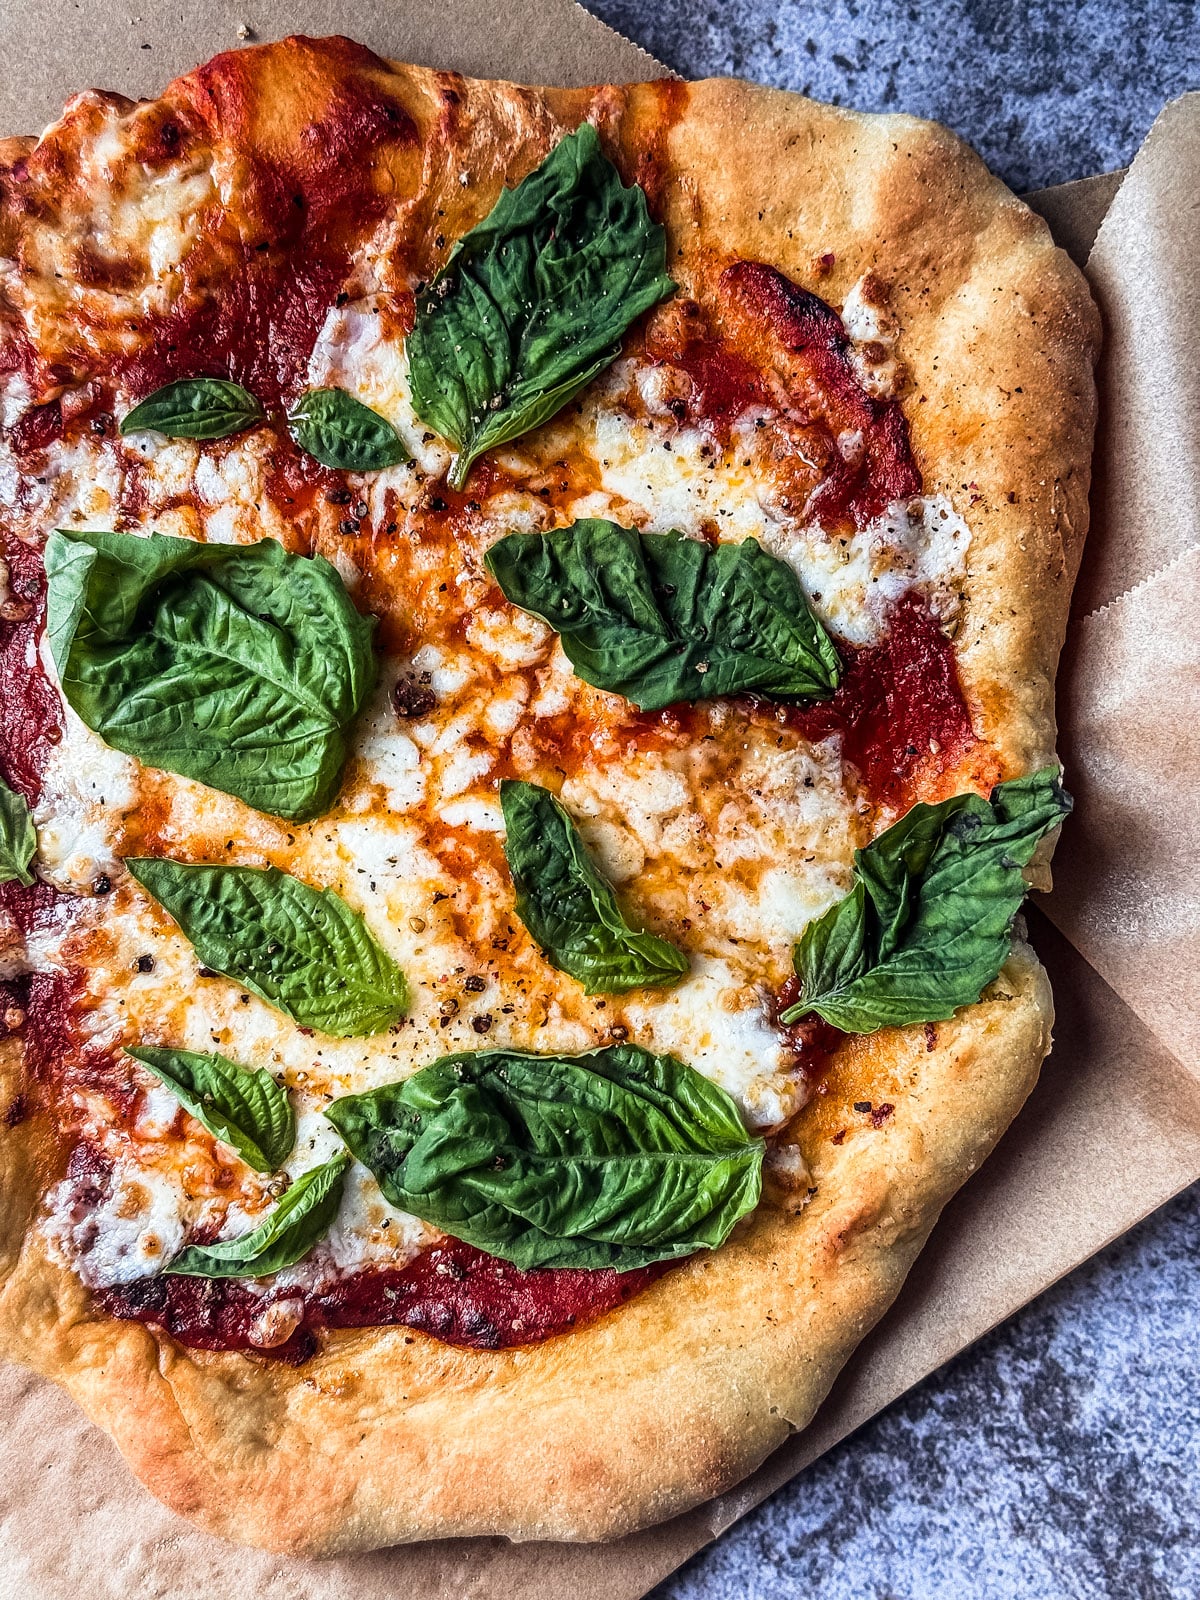
Once the crusts have been precooked, spread tomato sauce or marinara over the middle, top with your choice of cheese, followed by whatever toppings you fancy. Tip: Always add fresh basil to the pizza after it’s been cooked; otherwise, it wilts and isn’t as fresh.
Step 5: Cook Your Pizzas
One at a time, transfer the pizza back to the air fryer basket using a spatula, and cook for another 3-6 minutes at 375º F on air fry mode, or until the crust is golden and the cheese is nicely melted. (Always check in at the 3-minute mark and proceed from there. Every air fryer model is different, so time can vary.)
Transfer the pizza to a cutting board or cooling rack to set for a few minutes, then cut it into wedges or serve it as is.
Pair Your Air Fryer Pizza With…
- Chicken Wings—Nothing goes better with pizza than chicken wings! You can always whip up my Air Fryer Buffalo Wings before starting your pizzas.
- Salad—I have the best side salad for pizza that mimics the essential pizza parlor salad. You could also throw together a nice Caesar salad with my homemade Caesar dressing (which is also great for dipping crusts!), or this Greek salad with feta.

Frequently Asked Questions
Yes, the air fryer is a great tool for cooking pizza, whether it’s a frozen pizza or made fresh like this recipe.
Some recipes call for using “Bake” mode, but I’m a fan of doing it on “Air Fry” mode. In my testing, I have found that it yields a better crisp and browning on the crust.
Pre-bake the crust before piling on your toppings, flip it halfway through, and maybe don’t crank the heat like you’re trying to incinerate it. Lower temp, longer time—trust. A pizza stone or baking screen helps, too, if you’re feeling fancy.
Storage, Freezing, & Reheating
- Leftovers can be stored in an airtight container and refrigerated for up to 4 days.
- You can make dough in advance and freeze it for up to 4 months. Wrap the fresh ball tightly in plastic wrap, then pop it into the freezer. Thaw in the fridge overnight before use.
- To reheat leftover pizza, you can pop it back into the air fryer and heat in 2-minute increments until the pizza is warmed through.

Easy Air Fryer Pizza
Equipment
Ingredients
- 1 lb pizza dough ball, divided into two or three, My personal pizza dough recipe (Note: You can stretch this recipe into 3 balls of dough if you need.)
- Pizza sauce
- Olive oil
- Garlic salt (optional)
- Italian herbs (optional)
- Shredded Italian blend or mozzarella cheese, You can also use torn up mini mozzarella balls
- Any other toppings you'd like to add to your pizza
Instructions
- Preheat the air fryer to 400º F.
- Lightly cover a clean surface with some flour. Divide the dough into 4 pieces and form each into a round that measures approximately 6 inches in diameter, or enough to fit into the air fryer basket. (Sizes vary by air fryer, so eyeball it.)
- With a fork or toothpick, poke a generous number of small holes into the center of the pizza dough (not the crust edges).
- Brush all of the dough, front and back, with a tiny bit of olive oil. This helps you get a nice, even, golden crisp. For a flavored crust, sprinkle some garlic salt and Italian herbs over the crust's edges.
- Spray the bottom of the air fryer basket with a bit of olive oil or non-stick spray.
- Transfer the dough to the air fryer basket with a large spatula and pre-cook it at 375º F for about 2-4 minutes on “Air Fry” mode, flipping it halfway through. This will help you get a nice golden crust and golden bottom.
- When done, transfer the pre-cooked shell to a cutting board and pop the next pizza in. While that cooks, dress your pre-cooked pizza. Spread tomato sauce over the middle, then top it with cheese and whatever toppings you want. Tip: If using fresh basil, add it to the pizza after it’s been cooked for ultimate freshness.
- Once your pizzas are dressed, transfer them back to the air fryer basket, one at a time, using a spatula. Cook at 375º F on air fry mode for another 3-6 minutes, or until the crust is golden and the cheese is melted. (Check the pizzas at the 3-minute mark and go from there. Air fryer models vary with heat and cooking time, so it's better to be safe.)
- When done, transfer the pizzas to a cutting board or cooling rack to set for a few minutes, then cut them into wedges or serve them as is.
Notes
- Place the toppings beneath the cheese, then press down firmly on everything before closing the air fryer and starting it. This will help secure everything in place.
- You can secure a dehydration rack or cooling rack over the pizza if you have one. This acts as a barrier and has worked really well for me, keeping things like pepperoni and mushrooms in their place.
- Secure certain toppings with wooden toothpicks, like pepperoni and mushrooms.
Nutrition
Let me know what you think!
If you try this air fryer pizza, or any other recipe here at Killing Thyme, please pop back in and leave a 🌟 star rating! And let me know how it went in the 📝 comments below.


Wow – I never thought to make a pizza in an air fryer, but this recipe really works! Chewy crust and gooey melted cheese – it came out perfectly!
Happy to hear it!
I love pizza and i love my air fryer this is a match made in heaven
So glad!
Delicious and very easy to make, will make this again! Thanks
Excellent :)
I love this. I can have a personal pizza anytime I want. I also love that you put green olives on yours. I thought I was the only one.
Green olives are a huge fave over here!
I made this pizza for dinner last night and it was fantastic! Loved not having to turn on my oven!
It’s nice for a change :)
These air fryer pizzas are a game-changer! My family devoured them, and it’s become our new go-to for pizza night. Thanks for sharing this awesome recipe! 🍕😋
You’re very welcome! I’m so glad it’s a hit :)
We love this recipe! It’s made pizza night a whole lot easier since we are a house of 7 and we all love different toppings. Thank you!
Yes! This is a perfect recipe for that kind of situation. I’m so glad it’s been useful :)
Made these with the kids last night and they absolutely loved them! Such a smart idea, especially as the weather gets warmer and no one wants to turn on the oven.
Totally! This is a great alternative.
Isn’t it funny how when air fryers first came out, people only made french fries with them? Pizza in the air fryer is amazing! Thanks for another great way to use my favorite kitchen appliance!
Haha, YES! Oh, the things we’ve learned since! You’re so welcome, Chenée!