This post contains affiliate links. Please see our disclosure policy.
I might be obsessed with making bread.
I’ve been flirting with the idea of making bread from scratch for years (along with pasta, tortilla shells, compound butters… the list is lengthy). But, of course, ignorant assumptions held me back. I thought that I either a) needed a bread machine which I have no room for right now, or b) had to be some sort of artisan baker with mad kneading skills and maybe a degree in baking science.
Turns out neither of those things were needed ;)
Since my success with this bread, I haven’t even glanced at the bread aisle at the supermarket. Why would I? When a homespun slab of this good stuff is a cinch to make, you MAKE it.
Connecting with your food.
But aside from homespun bread being flippin’ delicious, there’s also that whole idea of being connected to your food which is why I recently planted a container garden on our balcony. There’s something incredibly soothing about sticking my hands in cool soil, planting seeds, watching my efforts blossom into little vegetables, and being able to bring something I summoned from a seed to the dinner table. Same thing goes for bread. Mixing a few simple ingredients, seeing the dough rise, and turning it into a crusty shell that harbors a soft and steamy porous sponge is inspiring. And slathering silky smooth butter over a warm slice is just thrilling on a whole new level.
What I’m trying to say is: make your own bread.
The first homemade loaf of bread that I pulled out of the oven left me in awe. As I stood over my countertop clutching a half-eaten hunk, melted butter dripping down my hand, I was in a state of bewilderment.
I want you to have that feeling, too.
So do yourself a solid and make this recipe. Get yourself comfortable with making bread and totally fall in love with it, because I’ve got some exciting flavored bread recipes in the vault and I want you to be read for them.


Did you make this recipe? Snap a pic and tag me on Instagram: @Killing__Thyme /#killingthyme. For more delish eats, follow me on INSTAGRAM + PINTEREST.
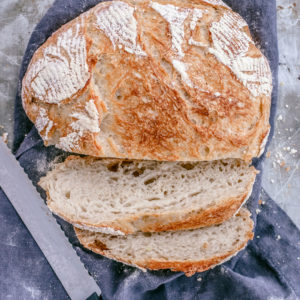
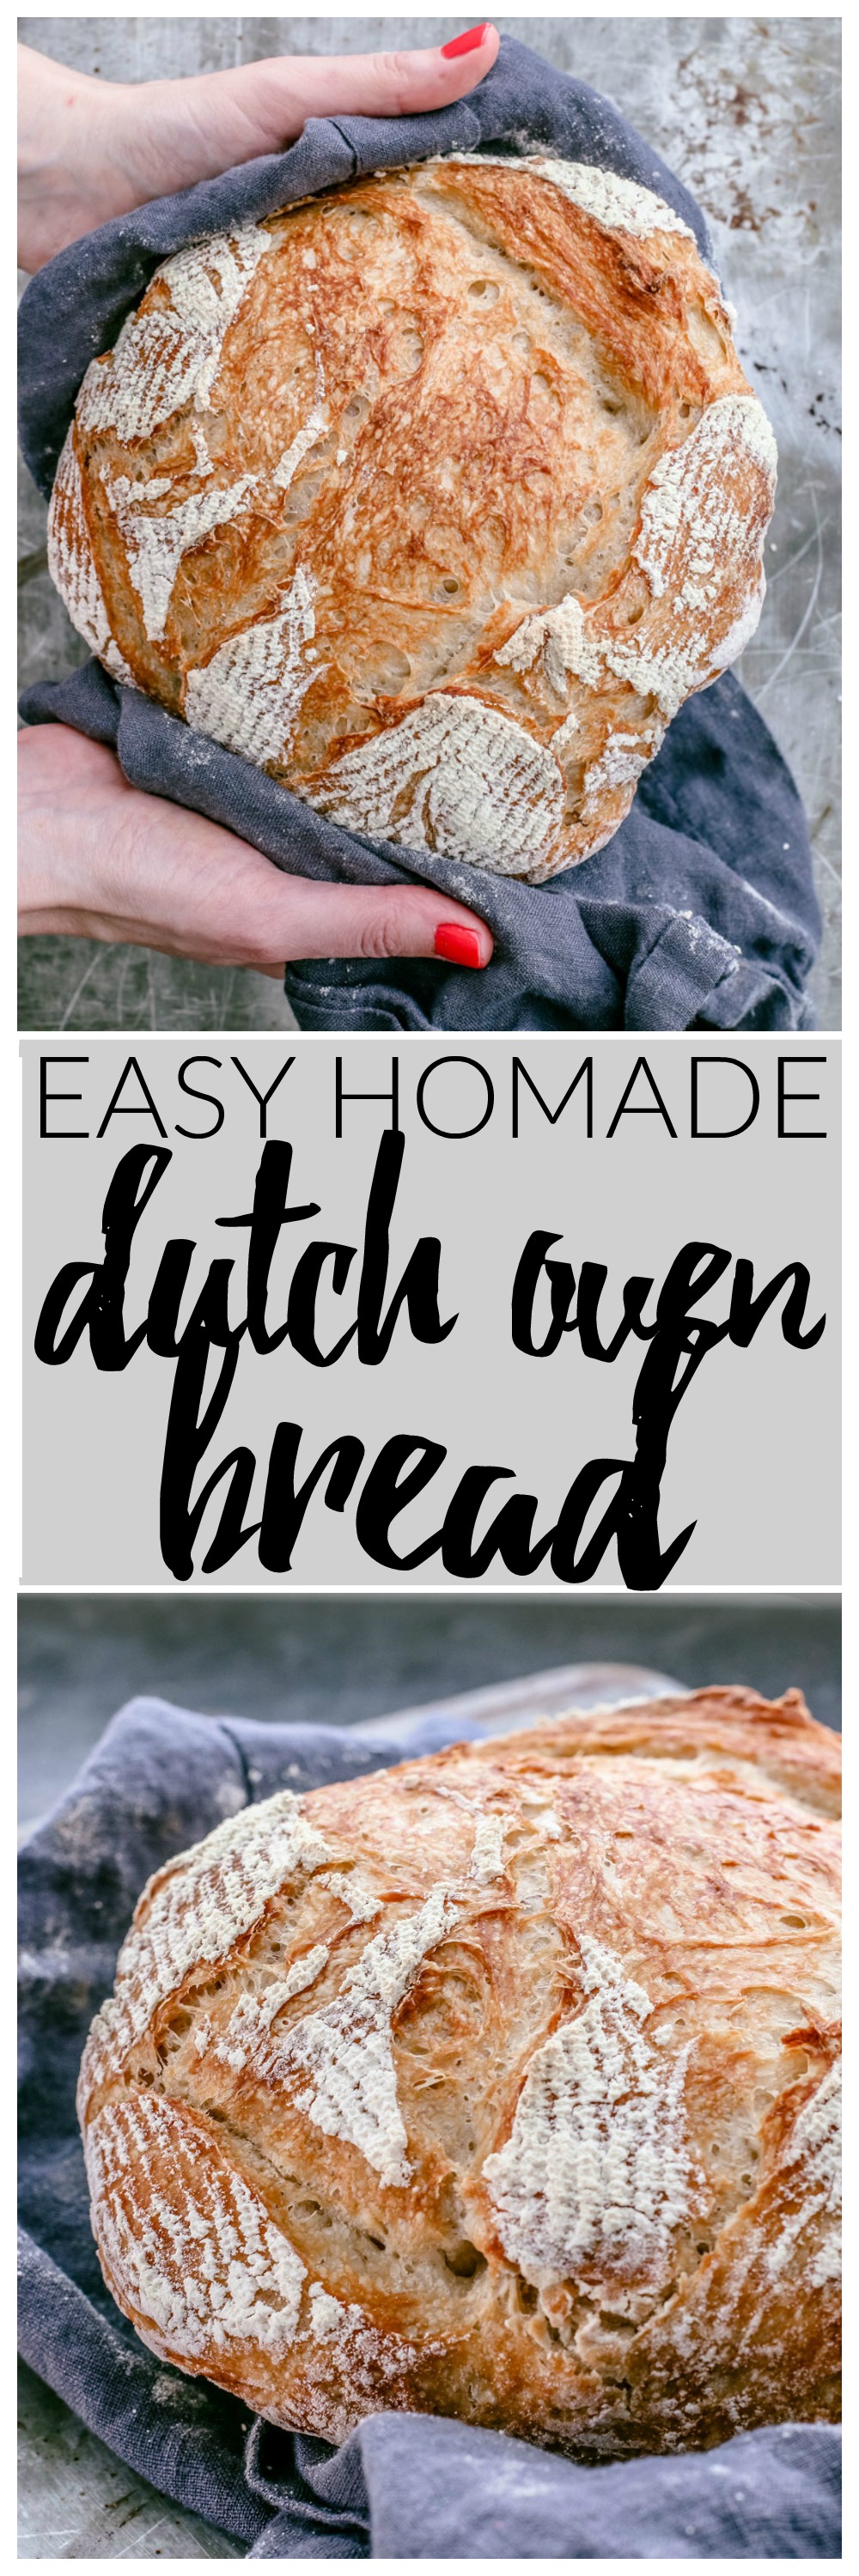
Easy Homemade Dutch Oven Bread
Ingredients
- 3 cups all-purpose flour
- 2 tsp sea salt
- 1/4 tsp instant yeast, You can use active dry yeast (same amount), but your dough may take a little longer to rise, so keep that in mind.
- 1.25 cups warm water
Instructions
- Add the flour, salt, and yeast to a large mixing bowl. Whisk it until it's well-blended.
- Slowly pour in the warm water and stir it with a fork or wooden/silicone spoon until the mixture becomes gluey and a bit shaggy. Lift the mixture to check and see if there is excess flour beneath it. If so, add a splash of water to the excess flour and combine it with the dough. This prevents any hardened floury bits to stick to the base of your dough.
- Cover the bowl tightly with plastic wrap and set it to rest in a warm area of the house for at least 10-12 hours (or overnight). *See notes
- When the dough is ready, prep a clean surface (a wooden cutting board or your countertop). Toss a generous amount of flour over the surface to prevent sticking. Unwrap the bowl of dough, set the plastic wrap aside, and gently peel/dump the dough out onto your floured surface. Toss a small amount of flour over the top of the dough. Grab one side of the dough and fold it over itself once or twice.
- Drape the plastic wrap over the dough and let it rest for 15 minutes. In the meantime, prep two clean tea towels; generously flour one of them and set them aside.
- After 15 minutes, discard the plastic wrap. One by one, grab each of the four sides of the dough and pull to the center to shape your dough into a ball. Quickly (but carefully) flip it over so that the smooth side is face-up and seams are face-down.
- Place the dough onto the floured tea towel; sprinkle a bit of flour on top. Cover with the other tea towel and let it rest for two hours or until the dough has doubled in size. (Note: if it's cool in your house, this process might take a bit longer. Again, leaving your dough somewhere warm in the house, like near the oven, will help. Sometimes I set my oven for the lowest temp and let my dough sit next to it for two hours, until it's time to pre-heat the oven for baking.)
- 20 minutes before baking time, preheat the oven to 450º F and place your Dutch oven inside the oven with the lid on to heat it up.
- Once the oven hits 450º F, take the Dutch oven out, set it somewhere safe, and remove the lid. Remove the top tea towel from off the dough, slide your hand underneath the dough, flip it over in your hands and carefully transfer it into the dutch oven, seam-side facing upward (I do this over or near the sink to minimize mess). If the dough sticks to the towel at all, simply peel it off and use more flour on the towel next time.
- Cover the Dutch oven with its lid and return to the oven for 30 minutes. Once 30 minutes has passed, remove the lid and let the bread bake for an additional 10-15 minutes, or until the top crust is a gorgeously crackled golden color. As a test, tap the loaf with the back of a spoon; it should sound hollow.
- Remove the Dutch oven from the oven and, with a silicone spatula or wooden spoon, carefully transfer the bread to a cooling rack to cool completely (or for however long you can stand to wait, which in this house, is five minutes).
- Use a large serrated bread knife to slice into it. Slather butter onto a slice and mow down. I always encourage the straight-out-of-the-oven taste test ;)
Notes
- To rise, I leave my covered bowl of dough on the counter near my dishwasher if it's been running, or close to my oven. You could also leave it in a humid laundry room.
- In total, this recipe requires 5 minutes of prep, 10 hours of idle time to let the dough rise, and 40-50 minutes of baking — so plan in advance.
- This recipe requires a Dutch or French oven.


Dutch oven bread is my favourite! I don’t have a proper dish to make it right now so my homemade bread hasn’t been as crusty and gorgeous as this one. Really, though, with the amount of work that goes into a bread like this, it’s well worth the wait time! Store bought tastes like cardboard and it’s so much cheaper to make it at home.
YES girl, get that bread! The stuff from the store doesn’t even compare. And with mouth-watering photos like these, no one in their right mind wouldn’t make this bread!
I can’t remember the last time I was in the bread aisle, oh gosh! Thank you infinity, my friend :)