This post contains affiliate links. Please see our disclosure policy.
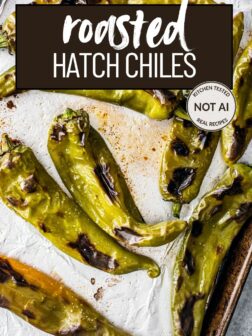
You’ll want roasted Hatch chiles on hand for queso, chili, tacos, chile relleno—anywhere you want mild, earthy heat. They’re smoky and offer a slight buttery sweetness that carries a little something special—enough to set itself apart from other chiles.
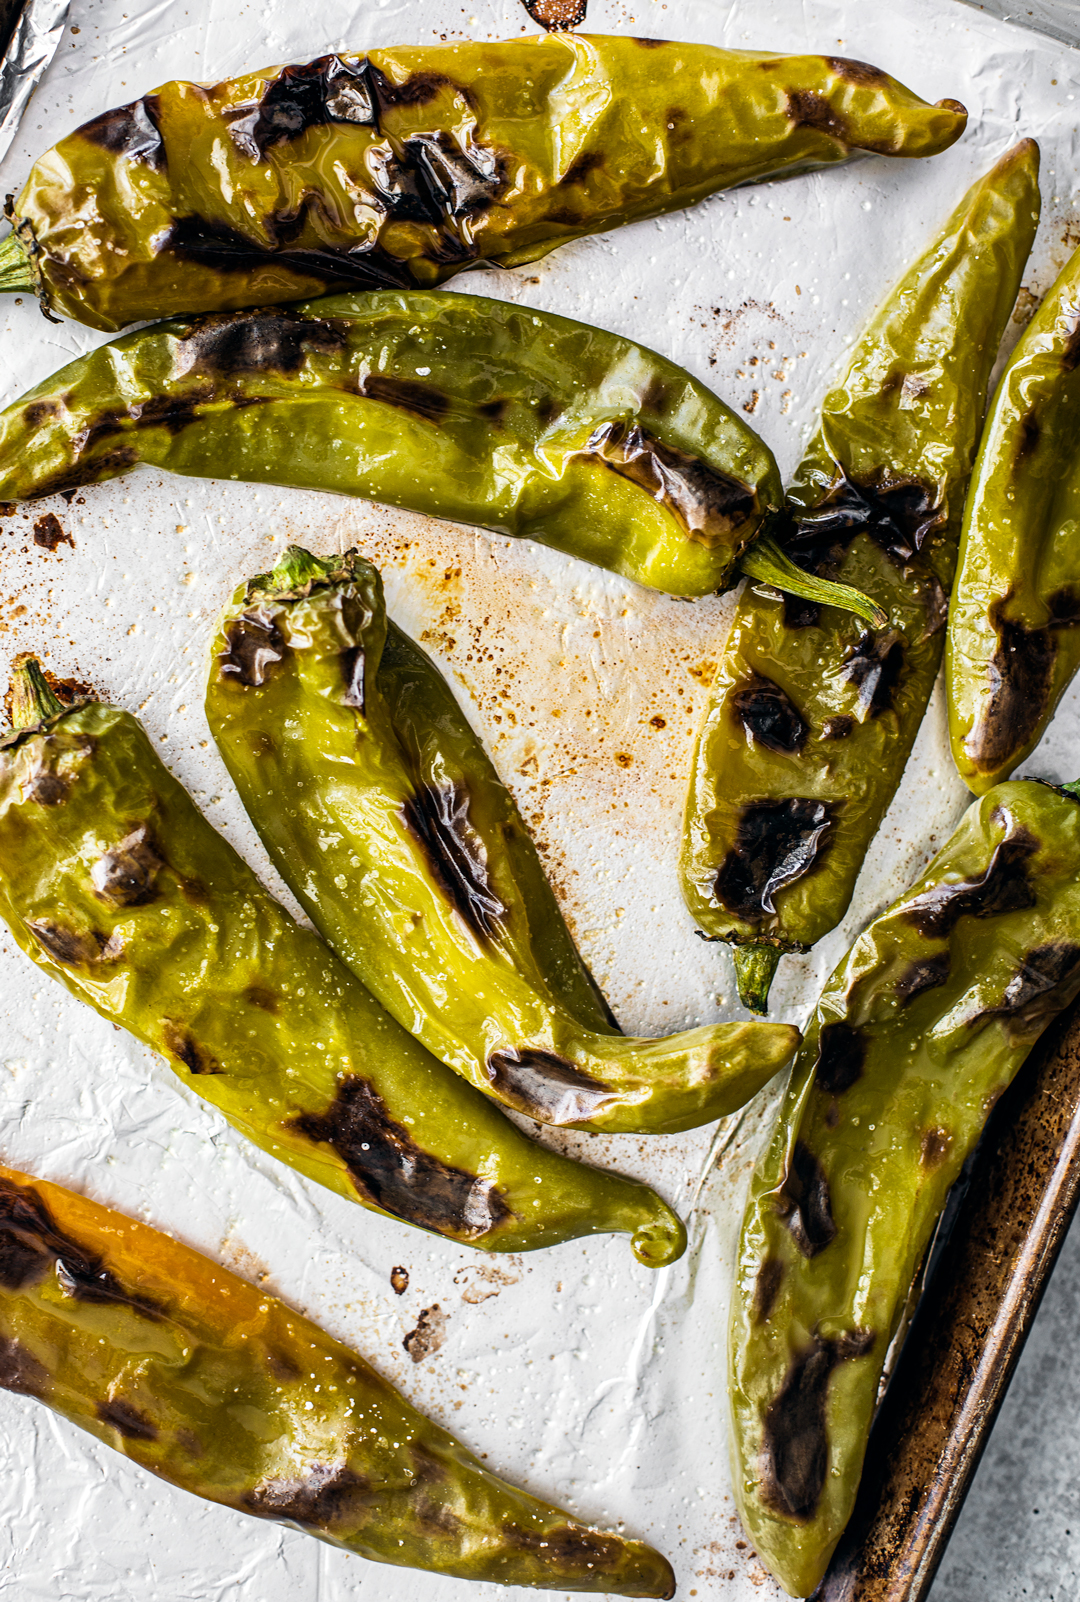
Hatch chiles taste like where they’re from: earthy, a little smoky, and sweet underneath. The volcanic soil of New Mexico’s Hatch Valley gives them their signature bite: bright and pungent, with a heat that lingers rather than shouts. But believe me when I say that roasting deepens it all. That clean, vegetal snap turns rich and almost caramelized.
I like to chop them up and freeze them after roasting so that I have some on hand for queso, breakfast tacos, baked chicken tacos, roasted Hatch chile omelets—even Hatch chile grilled cheese. Wherever I can use peppers, I’ll use’em.
What Is So Special About Hatch Chiles?
They grow only in one place: the Hatch Valley, New Mexico, where fertile soil meets a high-desert climate. The harvest is brief, between August and September, and that scarcity is part of the appeal. What you get is earthy and smoky-sweet, with a clean, crisp heat that turns rich and deep once roasted.
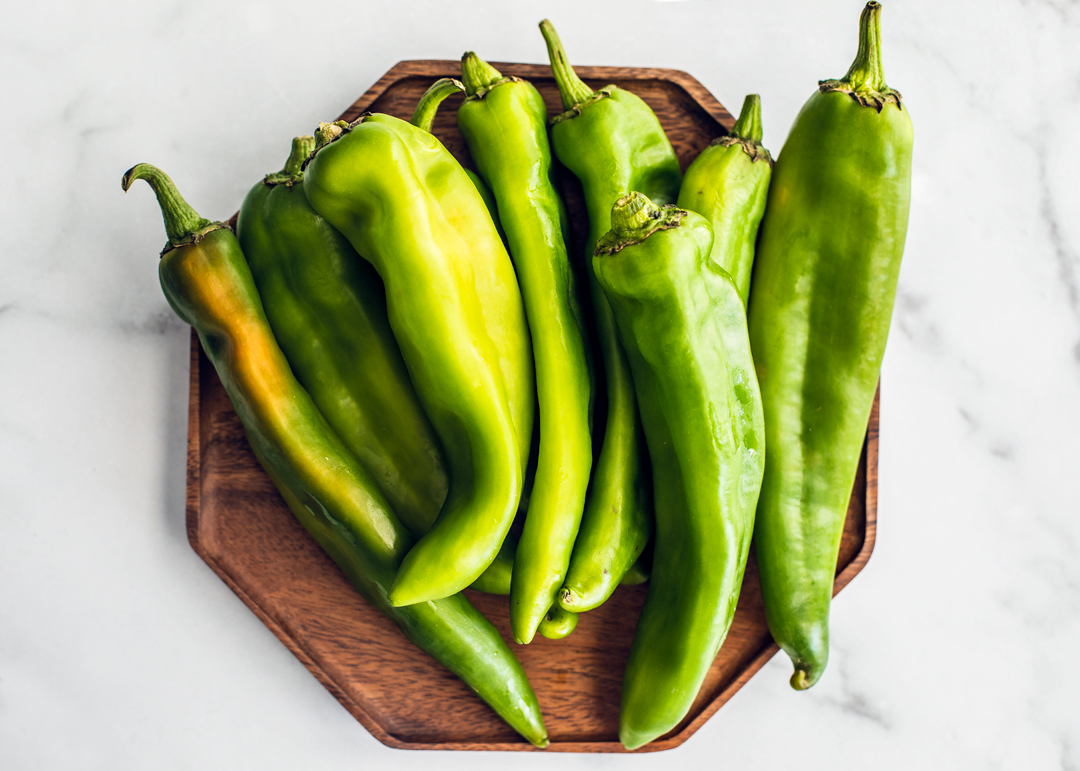
What Is Another Name for Hatch Chile?
Technically, “Hatch chile” isn’t a variety, it’s a place. The broader term is New Mexico chile, or New Mexican pod-type pepper. “Hatch” works the way “Champagne” does: a geographic claim, not a botanical one. Grow that same pepper outside the Hatch Valley, and it’s not a Hatch chile, no matter how it tastes. (Locals and purists will always remind you of this.)
Tips From My Kitchen
I make mistakes so that you don’t have to! Here are some things I’ve learned while testing this recipe…
- For quick and easy peeling: cover the roasted chiles right after they come out of the oven to steam them a bit. This makes the peeling process a little easier.
- Avoid parchment paper: because we are broiling under high-heat, going in with an uncovered pan, or one covered with aluminum foil is your best bet. (Since these photos were taken, I’ve stopped cooking with aluminum foil and just go in bare pan, but it’s up to you.)
- Use an oil with a high smoke point: avocado oil or light olive oil are great neutral-flavored options.
How to Roast Hatch Chiles
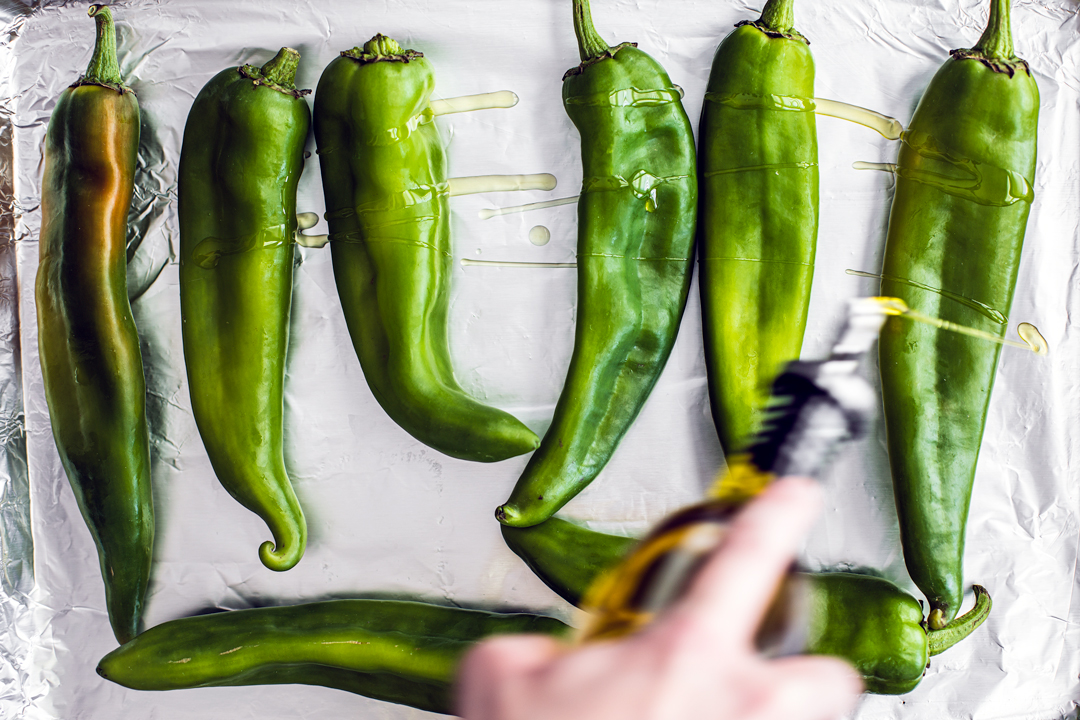
The broiler is my go-to for Hatch chiles. The high heat chars and blisters the skin fast, and the char creates the smoke; the blister makes peeling painless.
Step 1: Set Up the Oven
Position an oven rack about 6 inches from the broiler (the second- or third-from-top position in most ovens).
Preheat the broiler on high.
Step 2: Oil and Season the Peppers
Spread the chiles over a baking sheet. Drizzle them with a small amount of avocado oil or light olive oil (avoid olive oil; you want an oil with a high smoke point). Toss to completely coat them.
Step 3: Roast the Peppers
Place the baking sheet into the oven and broil the chiles for 5-7 minutes, or until the skin starts to blister and char. Flip the peppers over with tongs and broil for another 5-7 minutes.
Step 4: Remove and Cool
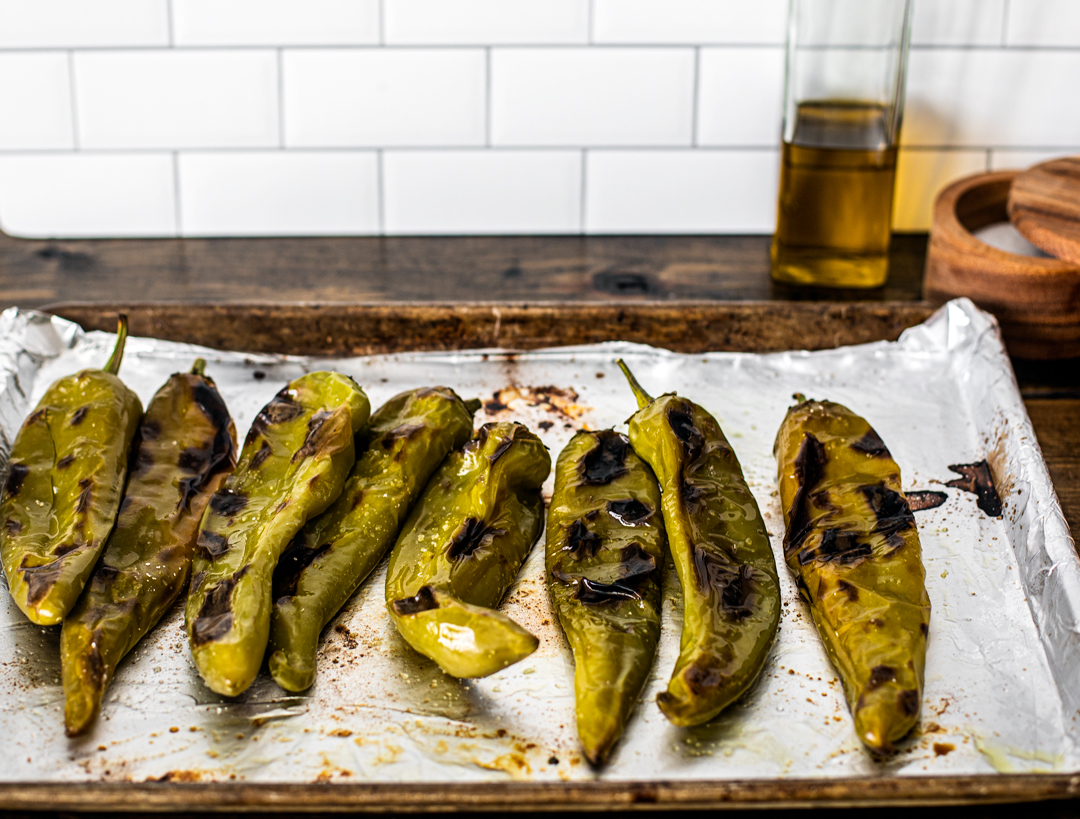
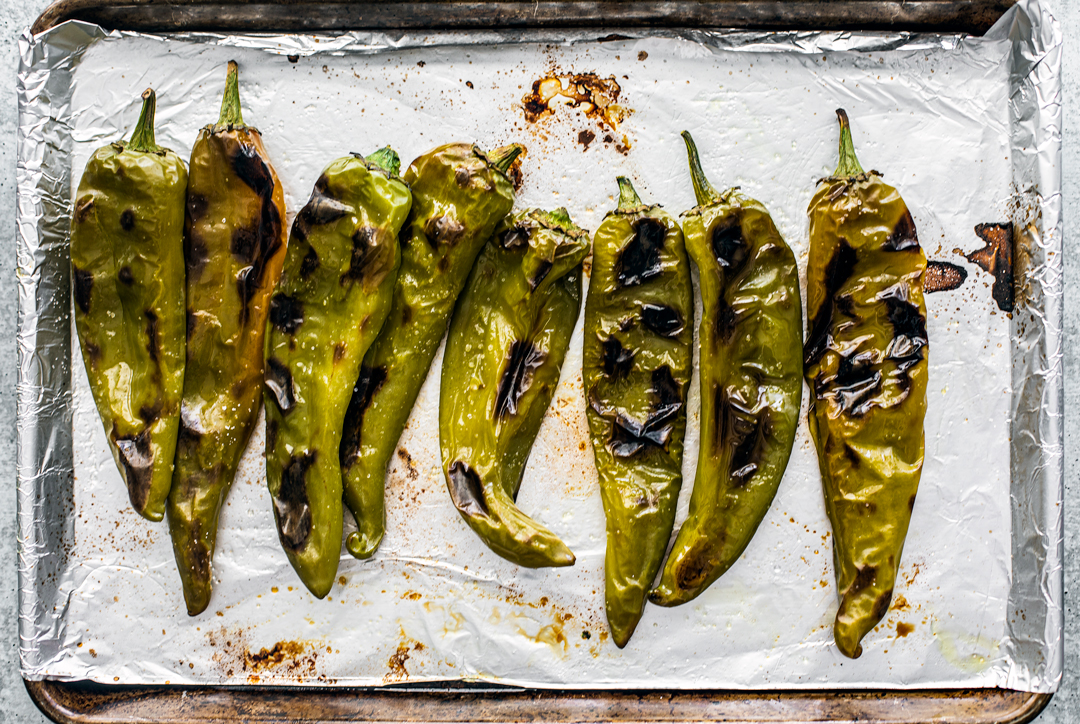
When both sides of the chiles are slightly charred, remove the baking sheet from the oven and set them aside to cool.
Step 5: Peel and Remove Seeds
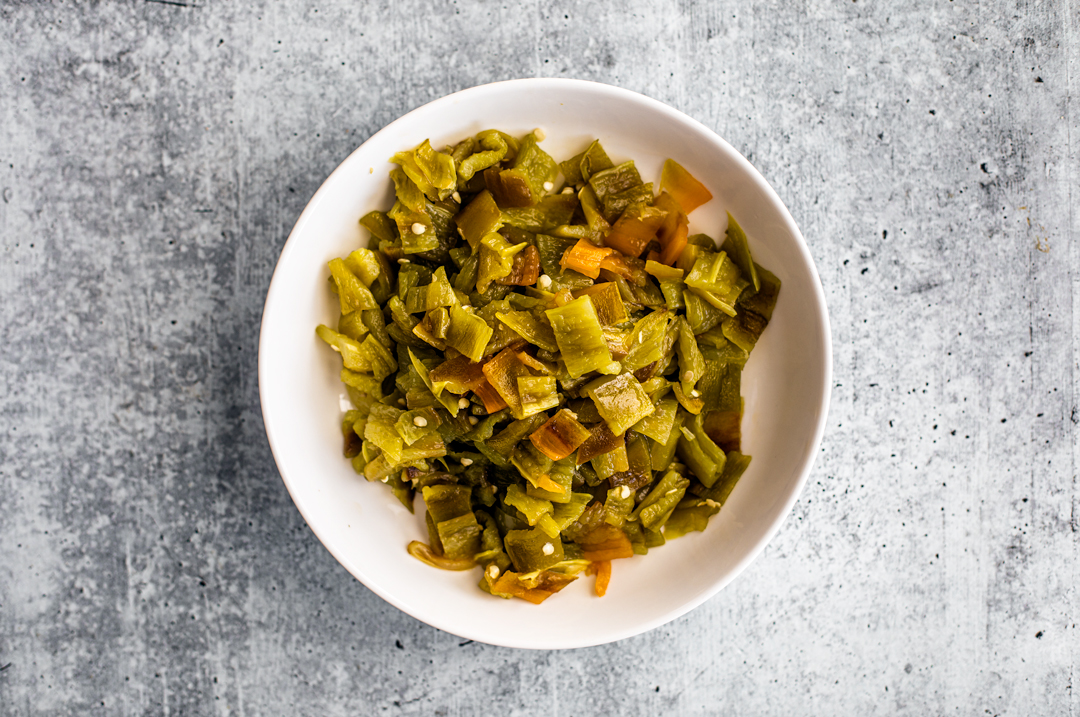
Peel the skin from the cooled chiles, slice them open, and scrape out the seeds (if some stick around, that’s fine), then roughly chop them.
Freezing Hatch Chiles
Let the chiles cool completely before freezing. Warm peppers trap moisture and invite bacteria that just sit dormant in the cold.
When stored properly, Hatch chiles can keep in the freezer for up to a year. The best containers are heavy-duty freezer bags or small, rigid, airtight containers.
Good Container Options
- Heavy-duty freezer bags
- Vacuum sealer bags—I have this vacuum sealer, and I love it. Sometimes Costco has them, so if you’re a member, check there for deals.
- Glass jars (4-oz)—for preportioned chopped chiles.
- Ice cube trays—for flash freezing. Then you can pop small portions into a freezer bag.
Tips for Freezing
- Press the air out before sealing: that’s what keeps ice crystals from forming.
- Freeze in the portions you’d actually cook with: so you’re not thawing more than you need.
- Whole peppers can be frozen unpeeled: they’re actually easier to peel after having been frozen, though I still prefer to freeze them chopped and portioned.
- Label the bag or container with the month and year: future you will want to know.
- Freezing increases heat: after thawing, hatch chiles kick it up one full heat level.
How to Use Hatch Chiles
Tacos
The obvious move. Roasted Hatch chiles are a fantastic addition to baked chicken tacos, tacos with ground turkey, and slow cooker chicken tacos.
Dips
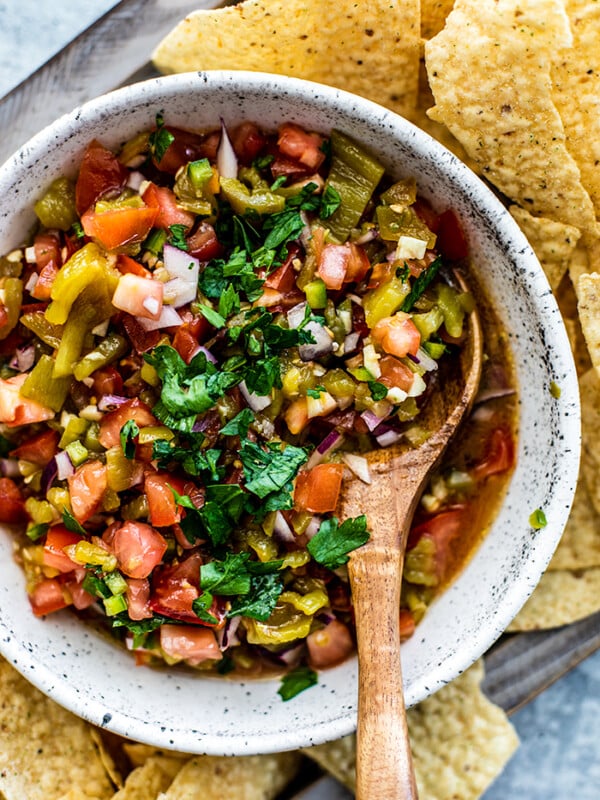
Queso is my favorite dip to throw these chiles into (I really need to get a queso recipe up here), but you could sprinkle them over a good taco dip with cream cheese, or make a refreshing batch of Hatch chile salsa.
Eggs
If you like hot sauce on your eggs, you’ll love adding roasted peppers to them. Hatch chile omelets and breakfast tacos turn brunch into something else.
Soups & Chilis
Hatch chiles are a great way to add depth to a bowl of soup or a pot of chili. Think: chicken tortilla soup, ground turkey chili, white chicken chili, or this hasty Instant Pot turkey chili.
How to Roast Hatch Chiles
Ingredients
- Hatch chiles
- Avocado oil or light olive oil, Or any neutral-flavored cooking oil with a high smoke point.
Instructions
- Position an oven rack about 6 inches from the broiler. (This is the second or third-from-top position in most ovens.)
- Preheat the broiler.
- Spread the chiles out over a baking sheet and drizzle a small amount of oil over them. Toss them with your hands to evenly coat.
- Place the chiles into the oven and broil for 5-7 minutes, or until the skin starts to blister and char. Using tongs, carefully flip the peppers and broil for another 5-7 minutes.
- When both sides of the chiles are slightly charred, remove the baking sheet from the oven. Set the chiles aside to cool.
- Once cooled, peel the skin from the chiles, slice them open, and scrape out most of the seeds (it's ok if you don't get them all). Roughly chop the chiles.
- See notes for freezing tips.



I love hatch chiles but only have them at restaurants. Can’t wait to try roasting my own at home!
You’ll love it, Tayler!
This is so helpful. Thanks for sharing!
No problem!
What a great idea to make ahead and store. I cook with chili’s all the time. Love the tips and tricks on this recipe. Thanks so much for sharing.
You’re so welcome!
Hatch chiles are always so much better when they’re roasted in my opinion. The flavor is so rich.
Oh yeah, 100% with you on that, Beth.
I’m so happy I came across this recipe during Hatch chile season! I adore the smoky earthy flavour I got from roasting them, it makes the best salsa!
It truly does! Glad you found this post too, Adri!
This was such a helpful guide to roasting hatch chilis perfectly every time! Thank you so much!
I’m glad! You’re very welcome, Anjali.
This was so timely! My local grocery store has hatch chilies on sale, so I picked some up and tried to roast them. Your instructions made it so easy for me to do. Thank you!
I’m so glad! I’ve experienced both scenarios: stores that sell them fresh and stores that sell them roasted and ready to go. Which is super convenient. But I’m kind of a sucker for roasting things on my own—I love how the aroma wafts through the entire house. Haha.
OMG these were delicious. Super easy. We tossed some in with our salsa right away and froze the rest for tacos later! Cant wait to enjoy them again!
I’m so glad! I ended up freezing a bunch, too. I see a Hatch chile queso happening in my house this fall…
This was such a quick and easy recipe that does not disappoint! Quick, easy and delicious; adds the perfect amount of flavor to just about any dish!
Yes, we add these to so many things! Glad you had fun with the process :)
Very useful post on how to roast hatch chile. Thanks for sharing.
You’re welcome!