Does the idea of putting fish on a grill make you nervous? No worries—grill fish on a cedar plank instead. It alleviates stress by providing a stable surface, and since there’s no flipping involved, your fillets stay beautiful and intact.
Cedar planks do two things: they keep the fish off the grate (no sticking, no falling apart), and they slowly smoke it from below in a way that’s genuinely hard to replicate otherwise. This is the move for anyone who feels a bit nervous about grilling their fish directly on hot grates.
Some Tips Before You Get Started
- Buy the right planks: Untreated, food-safe wood specifically made for grilling (like these). Not whatever’s in the garage (seriously, don’t).
- Keep a spray bottle nearby: The wood is supposed to smolder—that’s the whole point. But if it actually catches fire, a few spritzes will handle it before your fish becomes a casualty.
- Don’t flip the fish: The plank traps heat and circulates smoke around the top. There’s nothing to do but let it work!
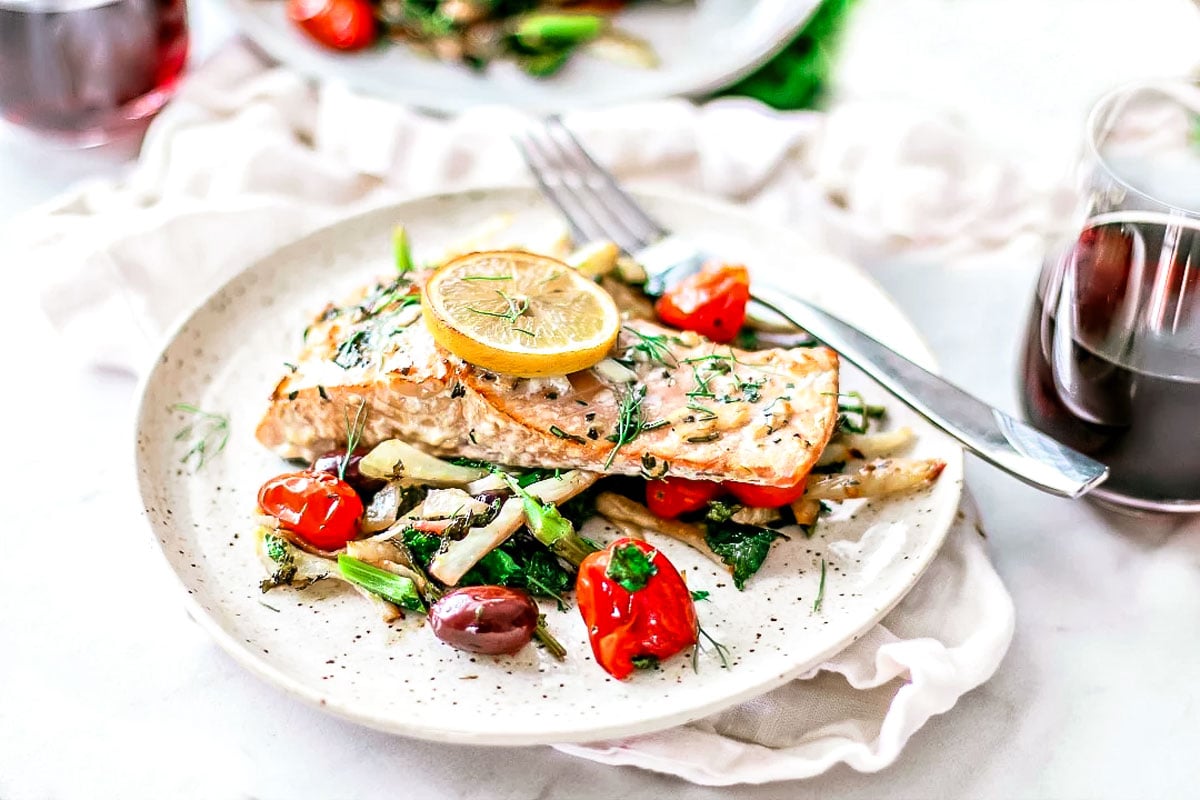
- Bring it straight to the table: A charred cedar plank is genuinely beautiful as a serving board. Rustic in the best way.
The Best Fish for Cedar Plank Grilling
The best candidates for cedar planking are sturdy, fatty fillets or steaks. You want fish that can sit over ambient heat and smoke for 10 to 20 minutes without falling apart. Here are my recommendations:
- Salmon (King, Sockeye, or Coho)—the classic for a reason
- Steelhead trout—similar to salmon, equally good
- Mahi-mahi—firm enough to handle the heat, takes smoke well
- Halibut—meaty and forgiving
- Swordfish—steak-like texture, practically made for this
Technically, you can plank anything, but delicate, lean white fish like flounder, tilapia, cod, or sole don’t do well here. They overcook quickly, dry out before they’ve had a chance to absorb any cedar flavor, and tend to turn to mush.

Step-by-Step: How to Grill Fish on a Cedar Plank
Step 1: Soak the Plank
Submerge it in water for 1 to 2 hours before you need it. Weigh it down with a can or glass so it doesn’t float. Soaking is crucial because it keeps it smoldering rather than catching fire.
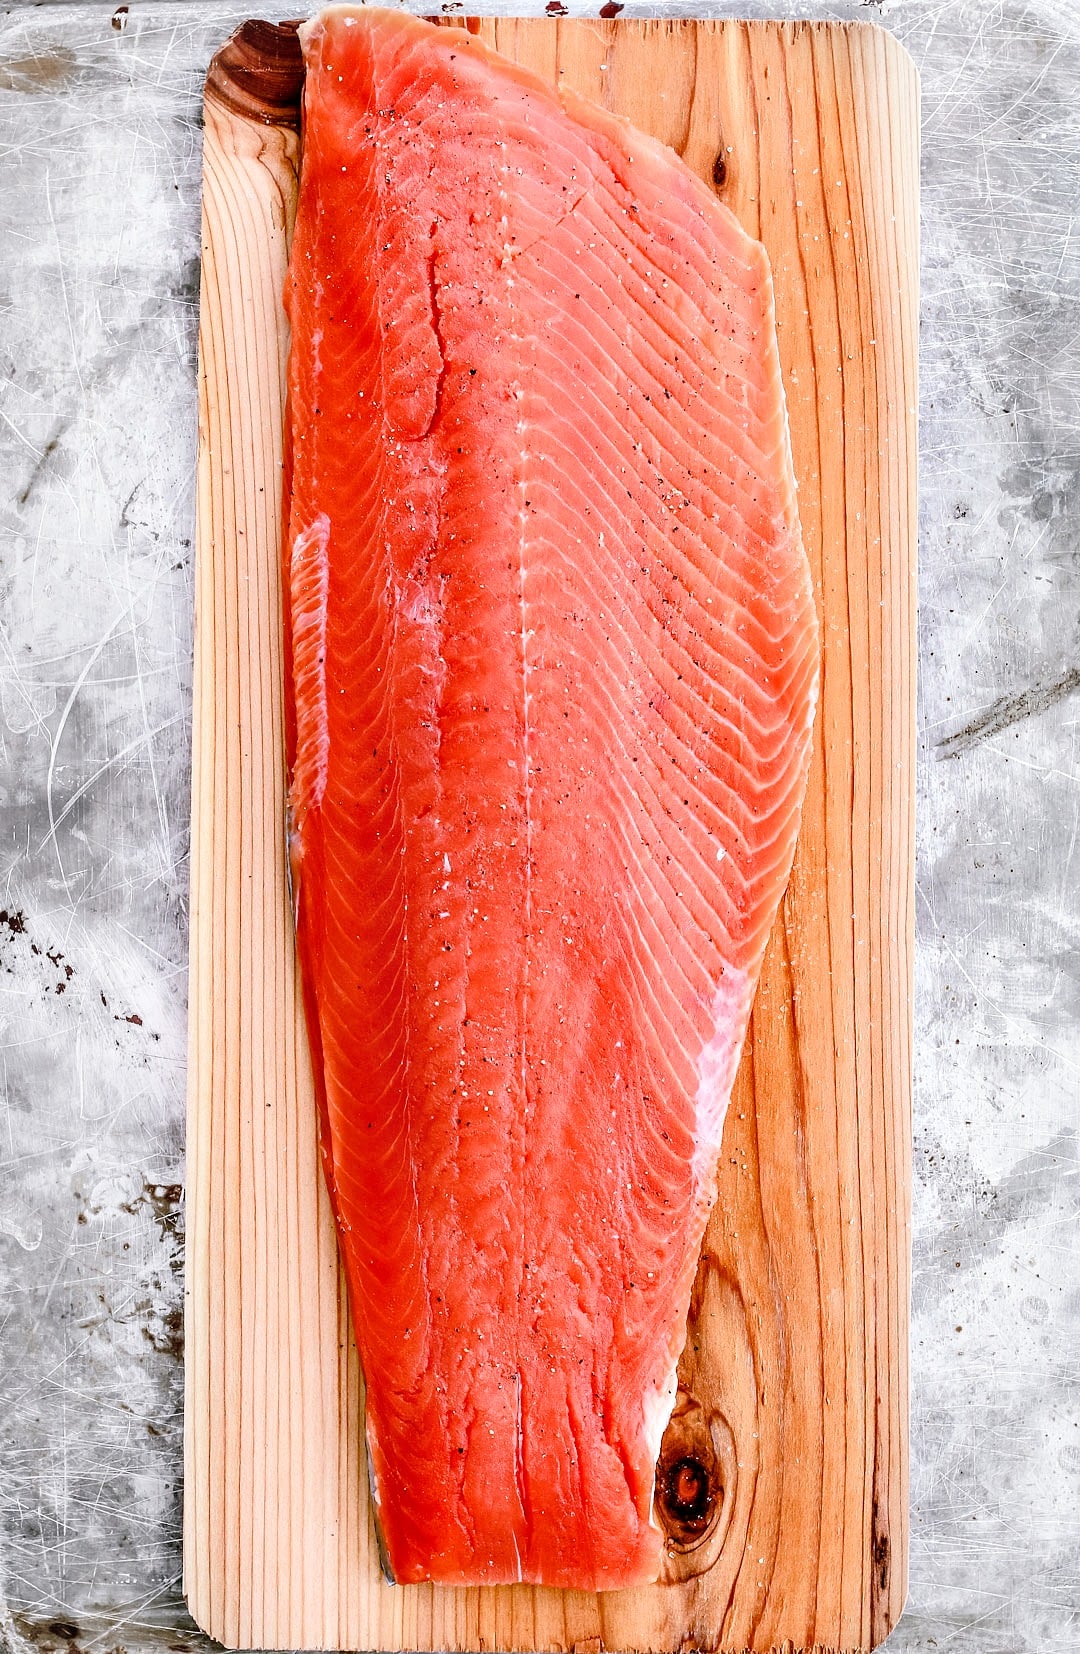
Step 2: Prep the Fish
Pat the fillets dry while the plank soaks. Season with olive oil, salt, pepper, and whatever else you like—citrus, a dry rub, keep it simple.
Step 3: Preheat the Grill
Medium heat, around 350–400°F.
Step 4: Oil the Plank
A light brush of olive oil on top keeps the skin from sticking.
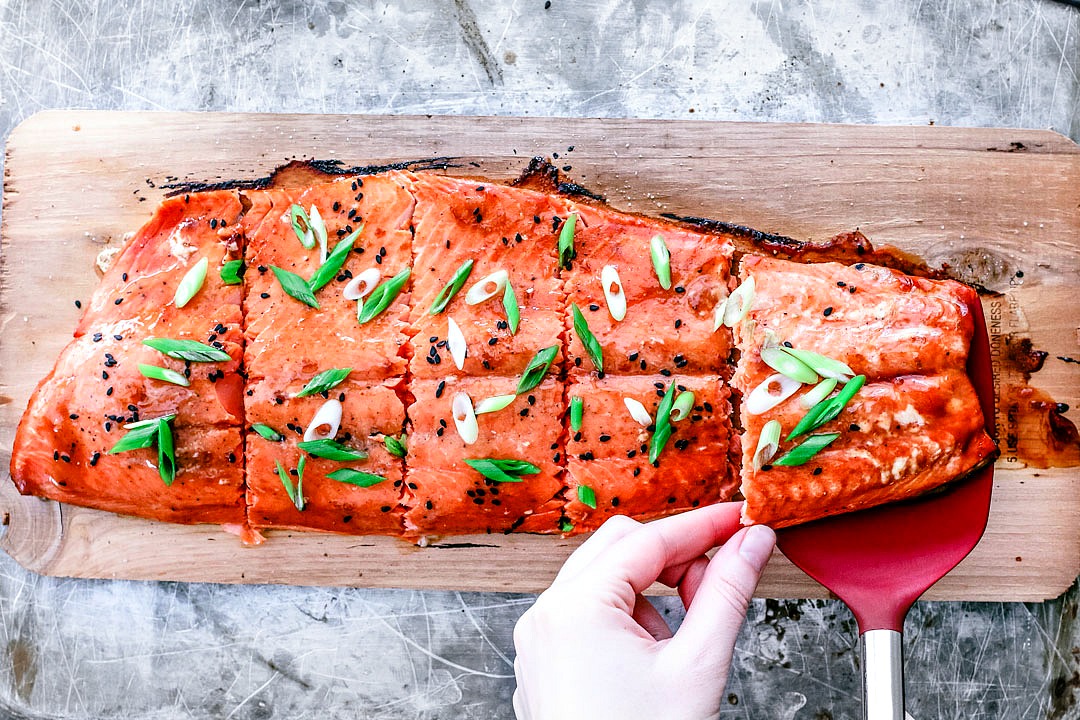
Step 5: Start Grilling
Lay the fish skin-side down on the plank, set the whole thing in the center of the grill away from direct flames, and close the lid. Leave it alone for 12 to 20 minutes, depending on thickness. You’re looking for opaque flesh that flakes easily, or an internal temperature of 130-145°F, depending on the fish.
Frequently Asked Questions
A cedar plank keeps the fish off direct heat, shields it from the grill grates entirely, and slowly infuses the flesh with a mild, woodsy smoke as it cooks. Another plus is that the fish never touches the grill, so sticking isn’t a concern.
Yes, but the cedar flavor is essentially a one-time thing. After the first cook, it’s just a piece of charred wood. Not really worth it.
Salmon, trout, and tuna are great options. Check my recommendations here.
Now that you’re ready to grill fish on a cedar plank, try my Cedar Plank Salmon Recipe!
View more easy salmon recipes here!


